SFM Depth of Field Post-Production
The Source engine has some interesting hidden features. All 3D engines have something called z-buffering, also known as depth buffering, It is one solution to the visibility problem, which is the problem of deciding which elements of a rendered scene are visible, and which are hidden. This is also used for camera based motion controls, like the Kinect or used in a mobile phone photography, also called “Portrait mode” Look up Google Pixel’s Portrait mode depth map.
Anyway, lets use this fancy thing with Source Filmmaker. Valve was kind enough to leave a console command in the engine to view the depth buffer for visual debugging of how soft particles behave, but we ain’t gonna use it for that. We gonna use it for ART!

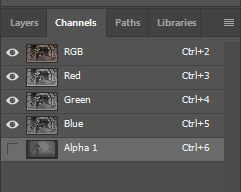
Most of the heavy lifting is done in Photoshop. First, render your scene with no depth of field effect on the camera as it will be done in post. To view the depth buffer in SFM, go to console and type r_depthoverlay 1 and just render your image. Use a lossless (PFM,TGA or PNG) format to avoid any compression artifacts on the depth map and the render itself. Now open both images in Photoshop and stack the depth map on top of the render. If you use PFM, change the image mode to either 8 or 16bits/channel as the required filter doesn’t work in 32bits/channel mode. Right click on the depth map’s thumbnail in the layers window, press “Select Pixels” and CTRL + X. Go to the channels tab and create a new channel and CTRL+V. This will push the depth map into the alpha channel. Hide the alpha layer, unhide the RGB channels and remove the empty layer.


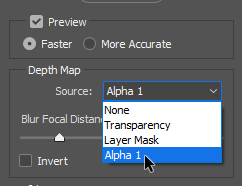
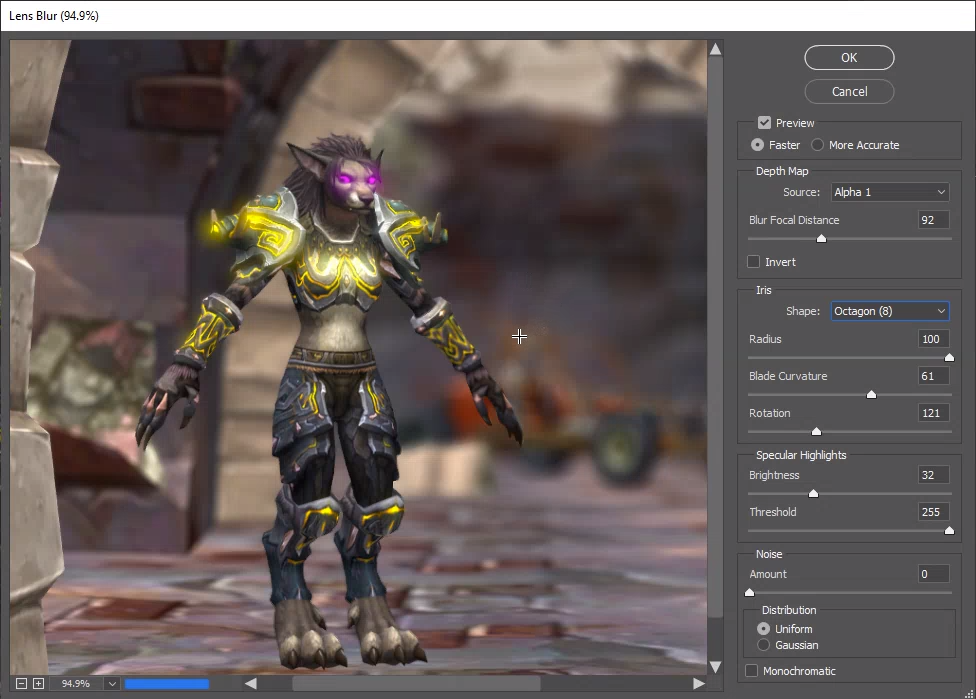
To apply the effect, go to Go to Filter rollout, Blur, and then Lens Blur. Select Alpha 1 as the source and just click anywhere on the image where you want to focus. I’d recommend fine tuning the depth mask for desired effect, as it sometimes can artifact on the edges of hair and the model. Keep in mind that Source’s depth buffer has a very short range of just 192 units.
